 English
 中文简体
中文简体
These Round Cocoa Hard Biscuits are specially designed for high-end frozen desserts and creative snacks, combining a crisp texture with excellent cold-chain transformation properties.
See Details
 Industry News
Content
Making a cookie crumb crust is straightforward: crush cookies into fine crumbs, mix with melted butter (typically a 3:1 ratio by weight), press firmly into your pan, and bake at 325–350°F (160–175°C) for 8–10 minutes. This produces a crisp, flavorful base that outperforms pastry crust for cold-set desserts like cheesecakes, icebox pies, and tarts. Below, you'll find every technique, ratio, and troubleshooting tip needed to master it.
A cookie crumb crust is a no-roll crust made by binding crushed cookies with fat—usually butter—and pressing the mixture into a pie dish or springform pan. Unlike flaky pastry, it requires no rolling pin, no resting time, and no blind-baking weights. It takes less than 15 minutes of active prep.
The science behind its texture is simple: when butter cools, it solidifies and acts as a glue that holds crumbs together. Heat from baking drives off moisture and sets the fat, resulting in a crust that slices cleanly. This is why cookie crumb crusts work exceptionally well with high-moisture fillings like cheesecake—a pastry crust would turn soggy, while the crumb base maintains structure.
The cookie you select determines the flavor profile, color, and structural strength of your crust. Not all cookies behave the same when crushed and baked. The table below compares the most common choices:
| Cookie Type | Flavor Profile | Butter Ratio (crumbs:butter) | Best Paired With |
|---|---|---|---|
| Graham Crackers | Honey, mild wheat | 1.5 cups : 6 tbsp | Classic cheesecake, key lime pie |
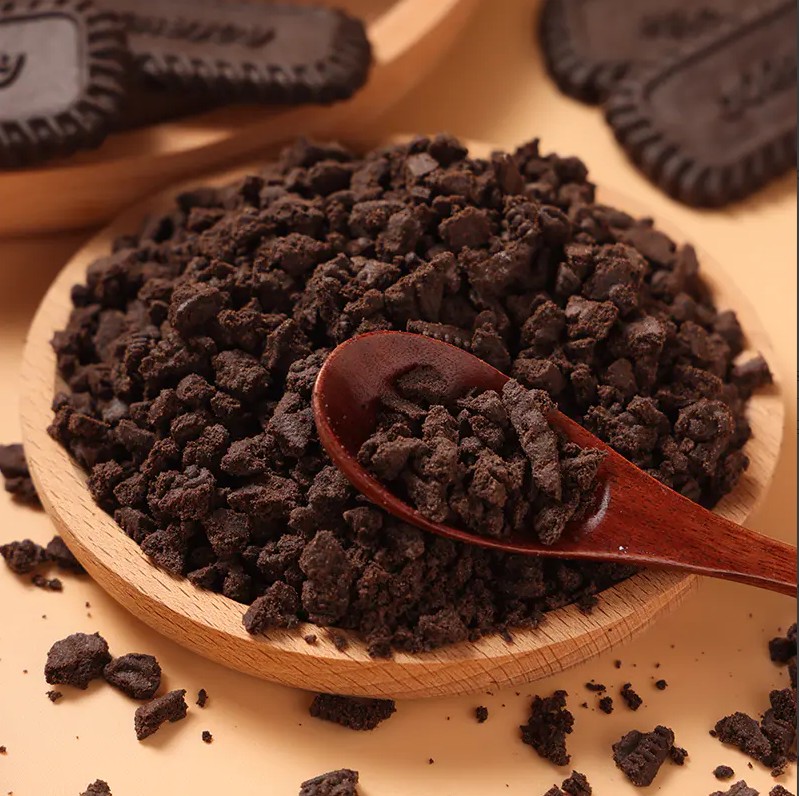
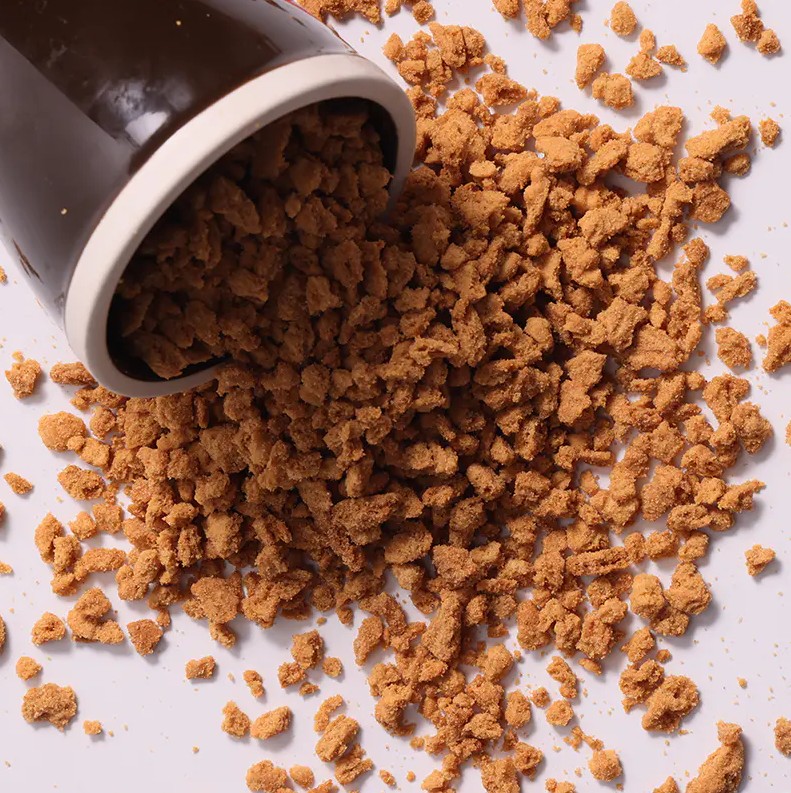
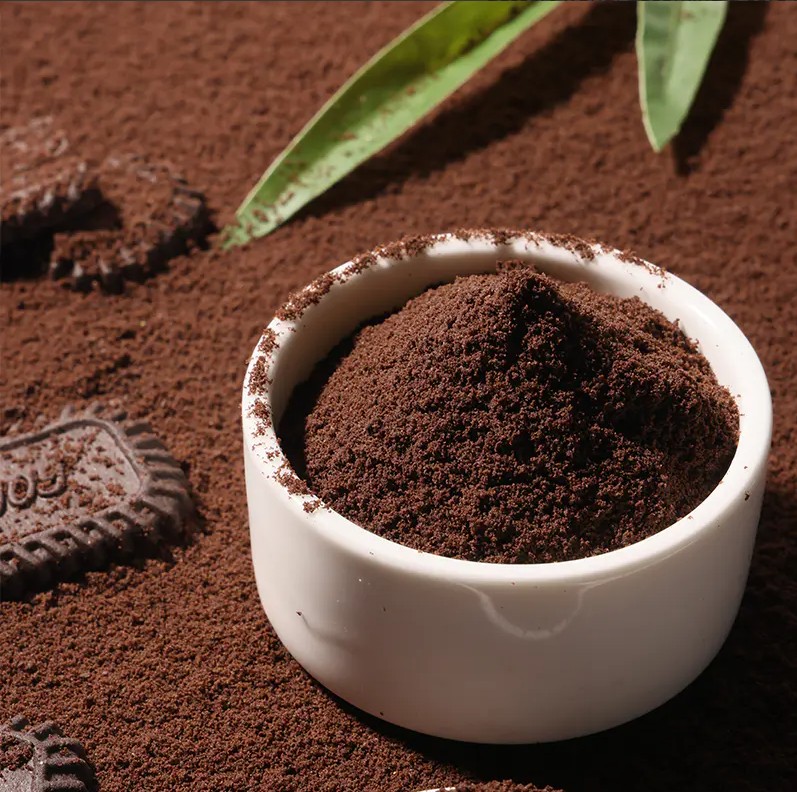
| Cocoa Biscuit Crumbles | Deep chocolate, slightly bitter | 1.5 cups : 5 tbsp | Chocolate mousse, mint cream pie |
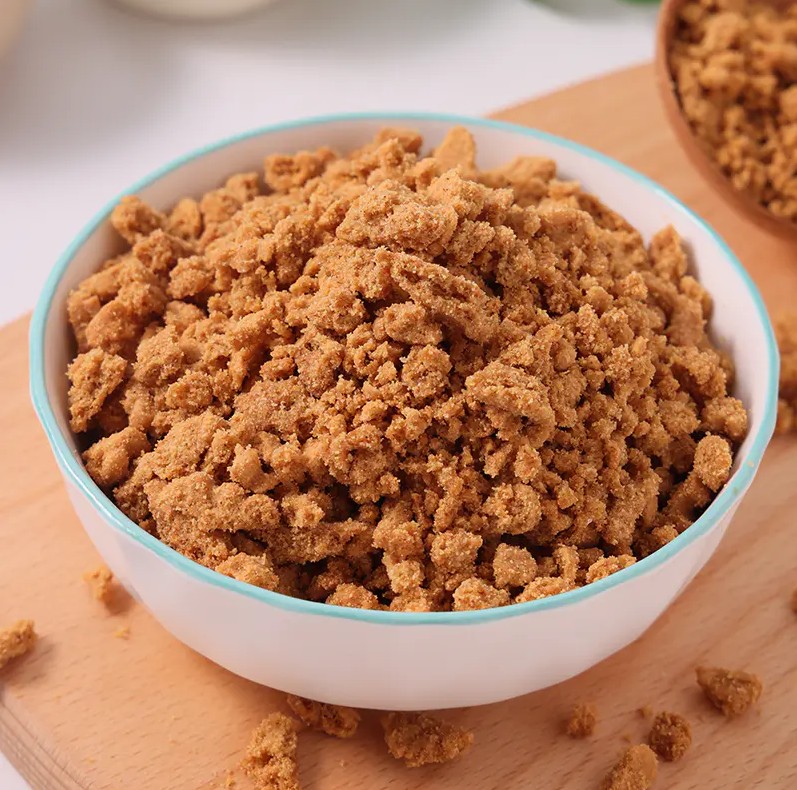
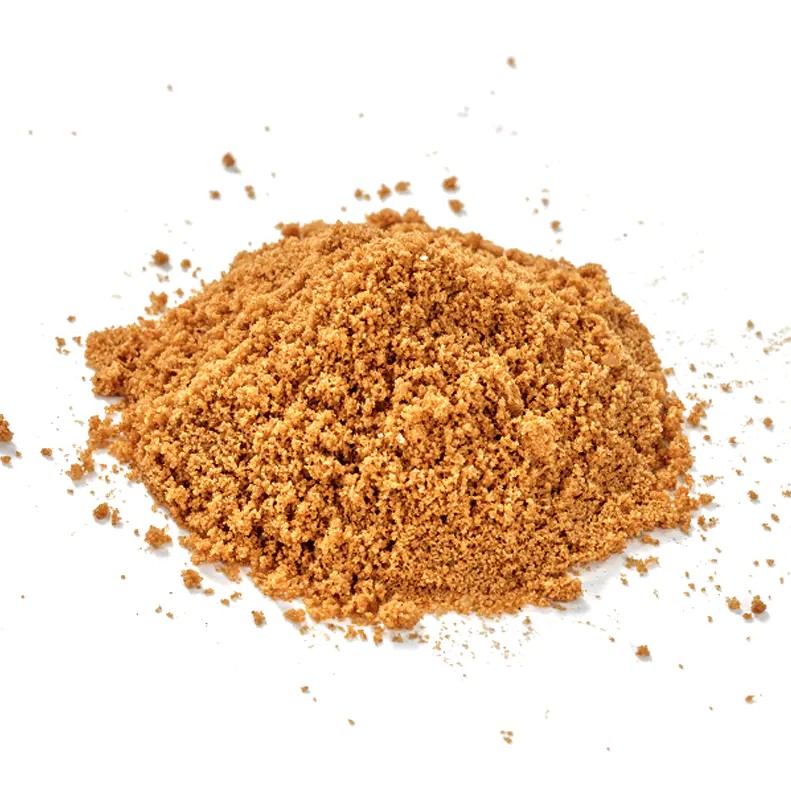
| Caramel Biscuit Crumbles | Buttery caramel, warm sweetness | 1.5 cups : 5 tbsp | Salted caramel tart, banoffee |
| Digestive Biscuits | Nutty, semi-sweet | 1.5 cups : 6 tbsp | Lemon curd tart, no-bake cheesecake |
| Shortbread | Rich, buttery | 1.5 cups : 4 tbsp | Fruit tarts, cream pies |
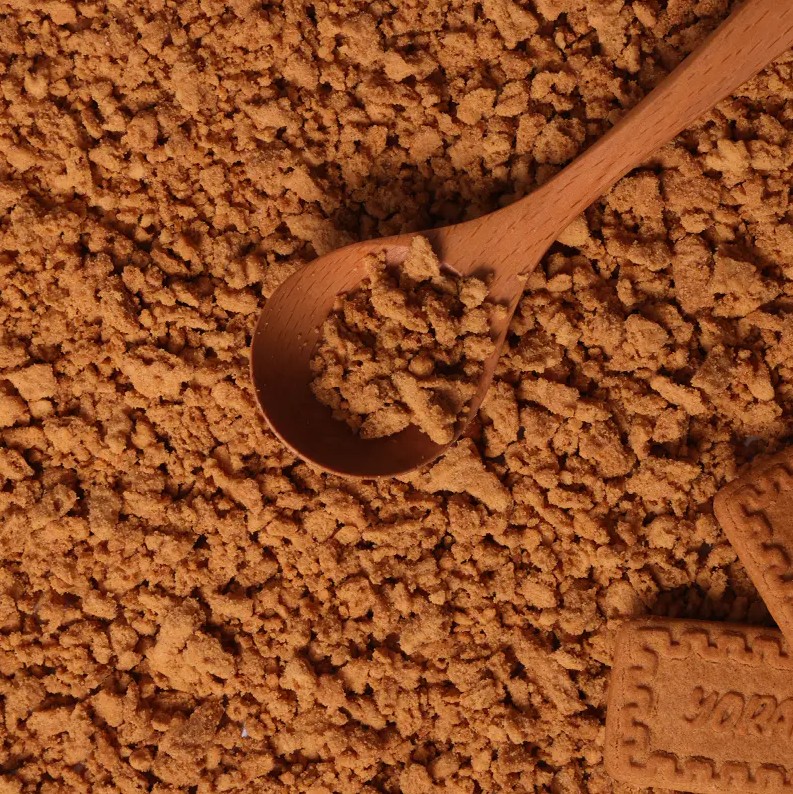
Pre-ground crumbles—such as commercially produced cocoa biscuit crumbles or caramel biscuit crumbles—offer an important advantage: consistent particle size across every batch. Uneven crumbs produce a crust with weak spots that crumble when sliced. Professional bakers often prefer pre-processed crumbles for exactly this reason.
The ratio of crumbs to butter is the single most important variable in crust quality. Too little butter and the crust won't hold together; too much and it becomes greasy and dense.
The standard working ratio is approximately 85–90g of melted butter per 200g of crumbs (roughly 6 tablespoons per 1.5 cups). However, this varies based on the fat content already present in the cookie:
A simple test: squeeze a handful of the mixture—it should clump together and hold its shape without crumbling or leaving a butter slick on your palm.
Follow these steps for a standard 9-inch (23cm) pie or springform pan:
Both approaches are valid, but they serve different purposes. Understanding the distinction prevents a common mistake: using a no-bake crust for a filling that requires oven time.
Baking at 325°F for 8–10 minutes drives off residual moisture and creates a firmer, crispier structure that can withstand oven-baked fillings like classic cheesecake or custard tarts. The Maillard reaction also deepens flavor—cocoa crumb crusts in particular develop richer, more complex chocolate notes when baked.
For no-bake fillings (icebox pies, mousse, no-bake cheesecake), skip the oven entirely. Press the crust into the pan and refrigerate for at least 1 hour, or freeze for 30 minutes until completely set. The cold temperature solidifies the butter and firms the structure adequately for cold-set desserts. This method is softer than a baked crust—it compresses slightly when cut rather than snapping cleanly.
Uneven pressing is the leading cause of a crust that falls apart when sliced. These techniques ensure structural consistency:
The basic formula is a platform for creativity. These additions modify flavor and texture without disrupting the binding ratio—provided you keep total add-ins to no more than 10–15% of the total crumb weight:
A soggy crust is almost always the result of moisture migration from the filling into the crumb base. Three proven strategies prevent this:
Even for no-bake recipes, baking the crust at 325°F for 8 minutes creates a moisture barrier by setting the butter and lightly toasting the crumbs. This single step reduces sogginess by approximately 60–70% in high-moisture fillings like cheesecake.
Brush a thin layer of melted dark or white chocolate over the cooled, baked crust and allow it to set for 10–15 minutes in the refrigerator before adding filling. The solidified chocolate forms a waterproof barrier between filling and crust. This technique is standard in professional patisserie for tarts with wet fillings.
A warm crust has softened fat. Adding any filling—even a cold one—when the crust is still warm causes the fat to absorb moisture from the filling. Always cool to room temperature, then chill in the refrigerator for 15–20 minutes before filling.
Even with the correct ratio and technique, problems can occur. Here are the most frequent issues and their solutions:
| Problem | Likely Cause | Fix |
|---|---|---|
| Crust falls apart when sliced | Too little butter; crumbs too coarse | Add 1–2 tbsp more butter; process crumbs finer |
| The crust is greasy | Too much butter; high-fat cookie used | Reduce butter by 1 tbsp; blot excess with paper towel before baking |
| The crust is soggy after filling | Moisture migration from filling | Pre-bake; apply chocolate seal; cool fully before filling |
| Crust shrinks during baking | Sides not pressed firmly; butter too warm | Press harder at the seam; chill 15 min before baking |
| Uneven thickness, thick center | Pressed with fingers, not a flat tool | Use a flat-bottomed measuring cup; apply even pressure |
Cookie crumb crusts are well-suited to preparation, which makes them practical for event baking.
Home bakers who make crusts regularly often switch to professionally produced cookie crumbles for one practical reason: particle size is uniform every time. When you crush cookies at home, the result varies—some batches contain coarse chunks, others powdery dust. Both extremes compromise the final texture.
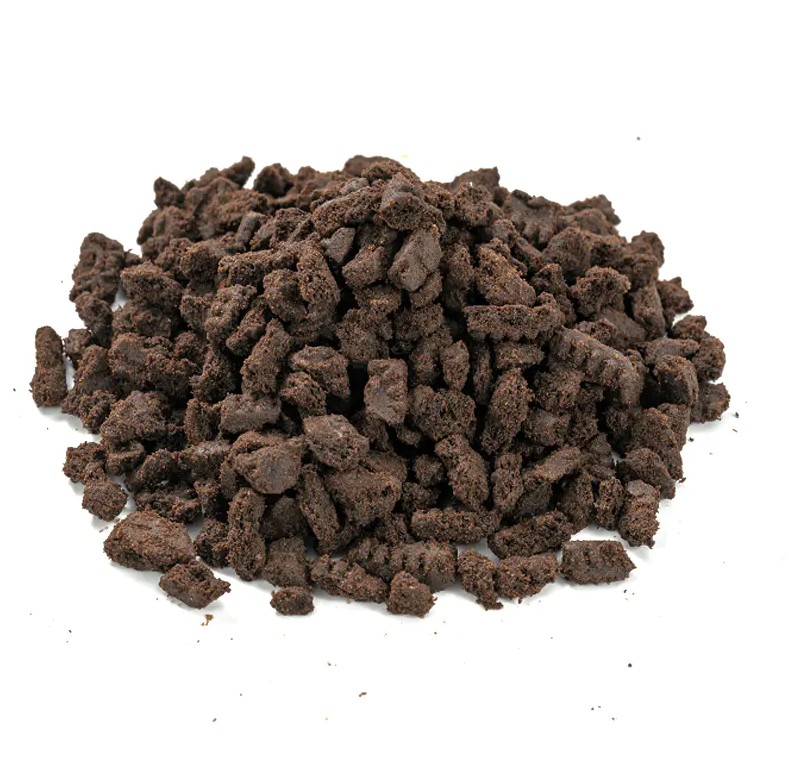
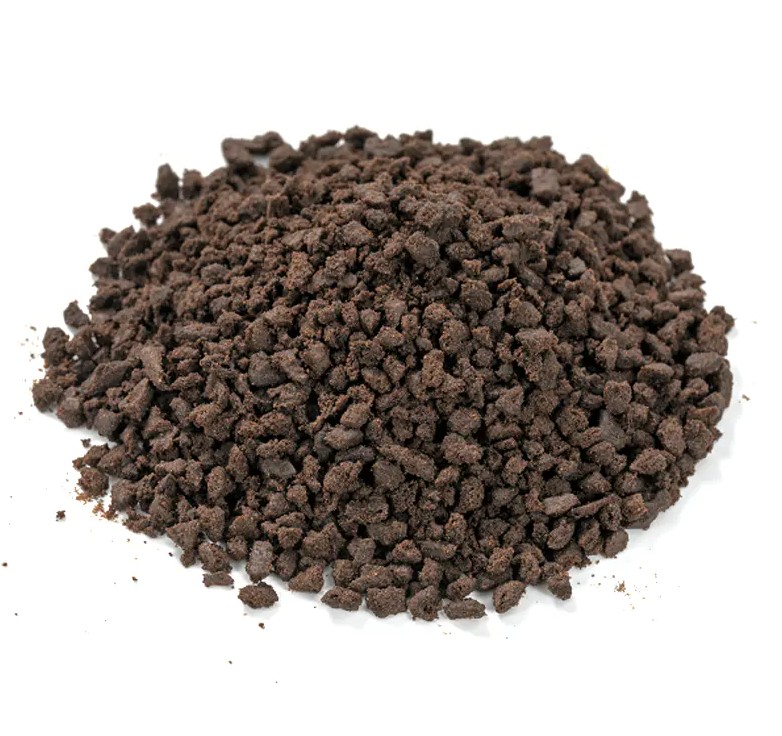
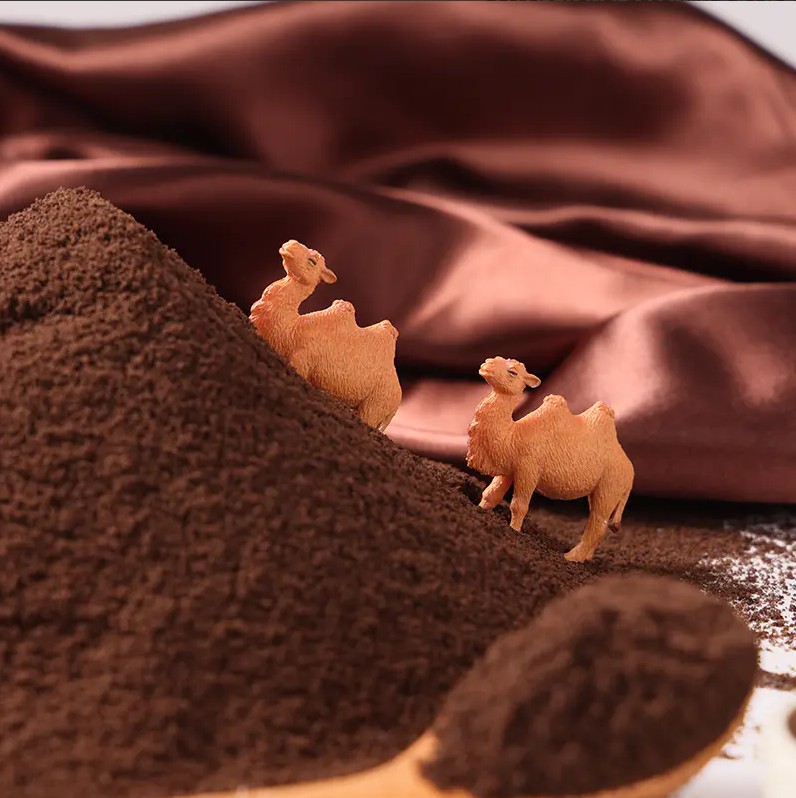
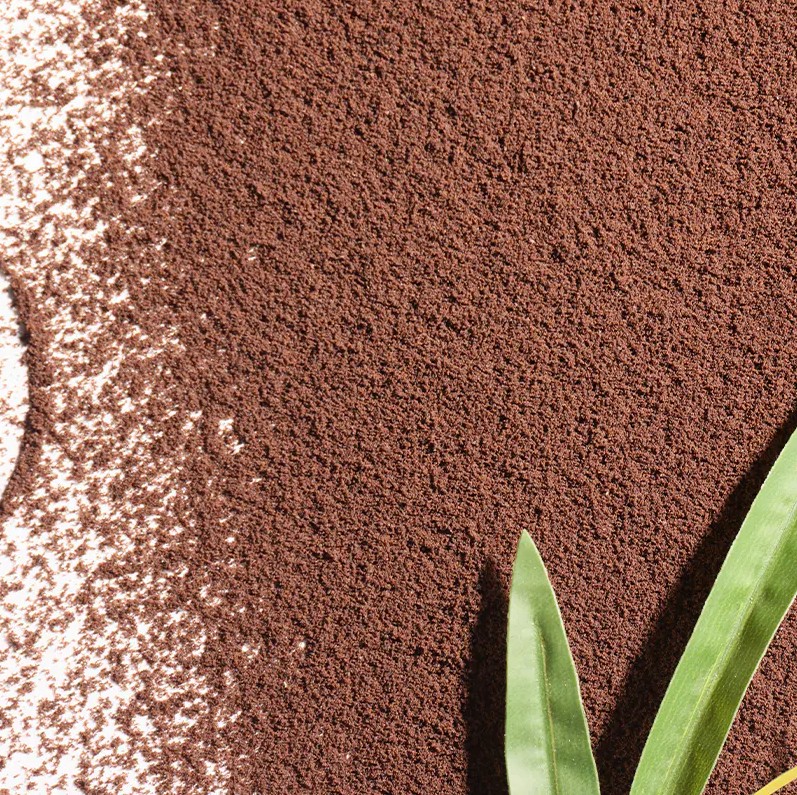
Products like medium cocoa biscuit crumbles and small cocoa biscuit crumbles are produced by manufacturers to maintain a consistent granule size specifically for pastry applications. Medium crumbles (approximately 3–5mm) produce a crust with visible texture and a hearty bite; small crumbles and biscuit powder (under 1mm) create a denser, finer-grained crust closer in texture to a shortbread base. Cocoa biscuit powder, the finest grade, is particularly suited to tart shells and thin-crust applications where structural precision matters.
Because manufacturers do not add colorants to high-quality crumbles, the color you see is the natural hue of the raw cocoa or caramel, which also means flavor is authentic and unadulterated, translating directly into a richer-tasting finished crust.

These Round Cocoa Hard Biscuits are specially designed for high-end frozen desserts and creative snacks, combining a crisp texture with excellent cold-chain transformation properties.
See Details
This rectangular cocoa hard biscuit is a classic baked semi-finished product, combining a crisp texture with excellent physical compatibility, making it an ideal base for frozen desserts and creative snacks.
See Details
These Round Butter Hard Biscuits combine classic flavor with versatile textures, making them the ideal base for ice cream sandwiches.
See Details
This rectangular cocoa crisp biscuit is the ideal shell for ice cream sandwiches. It continues the classic "Oreo" flavor profile and is optimized for cold chain environments.
See Details
This core component, specifically designed for premium ice cream, features a scientifically formulated high-fat and high-sugar ratio, providing both robust structural support and a melt-in-your-mouth crispness.
See Details
This product is a professional base ingredient specifically designed for high-end frozen desserts. It uses a high oil-to-sugar ratio and select low-gluten flour to create an exceptionally crisp texture that crumbles in y...
See DetailsQuick Links
Code Preview